Introduction
Hello there, In this article, I will show you how to add a gradient border to Tailwind CSS.

Let’s go gradient
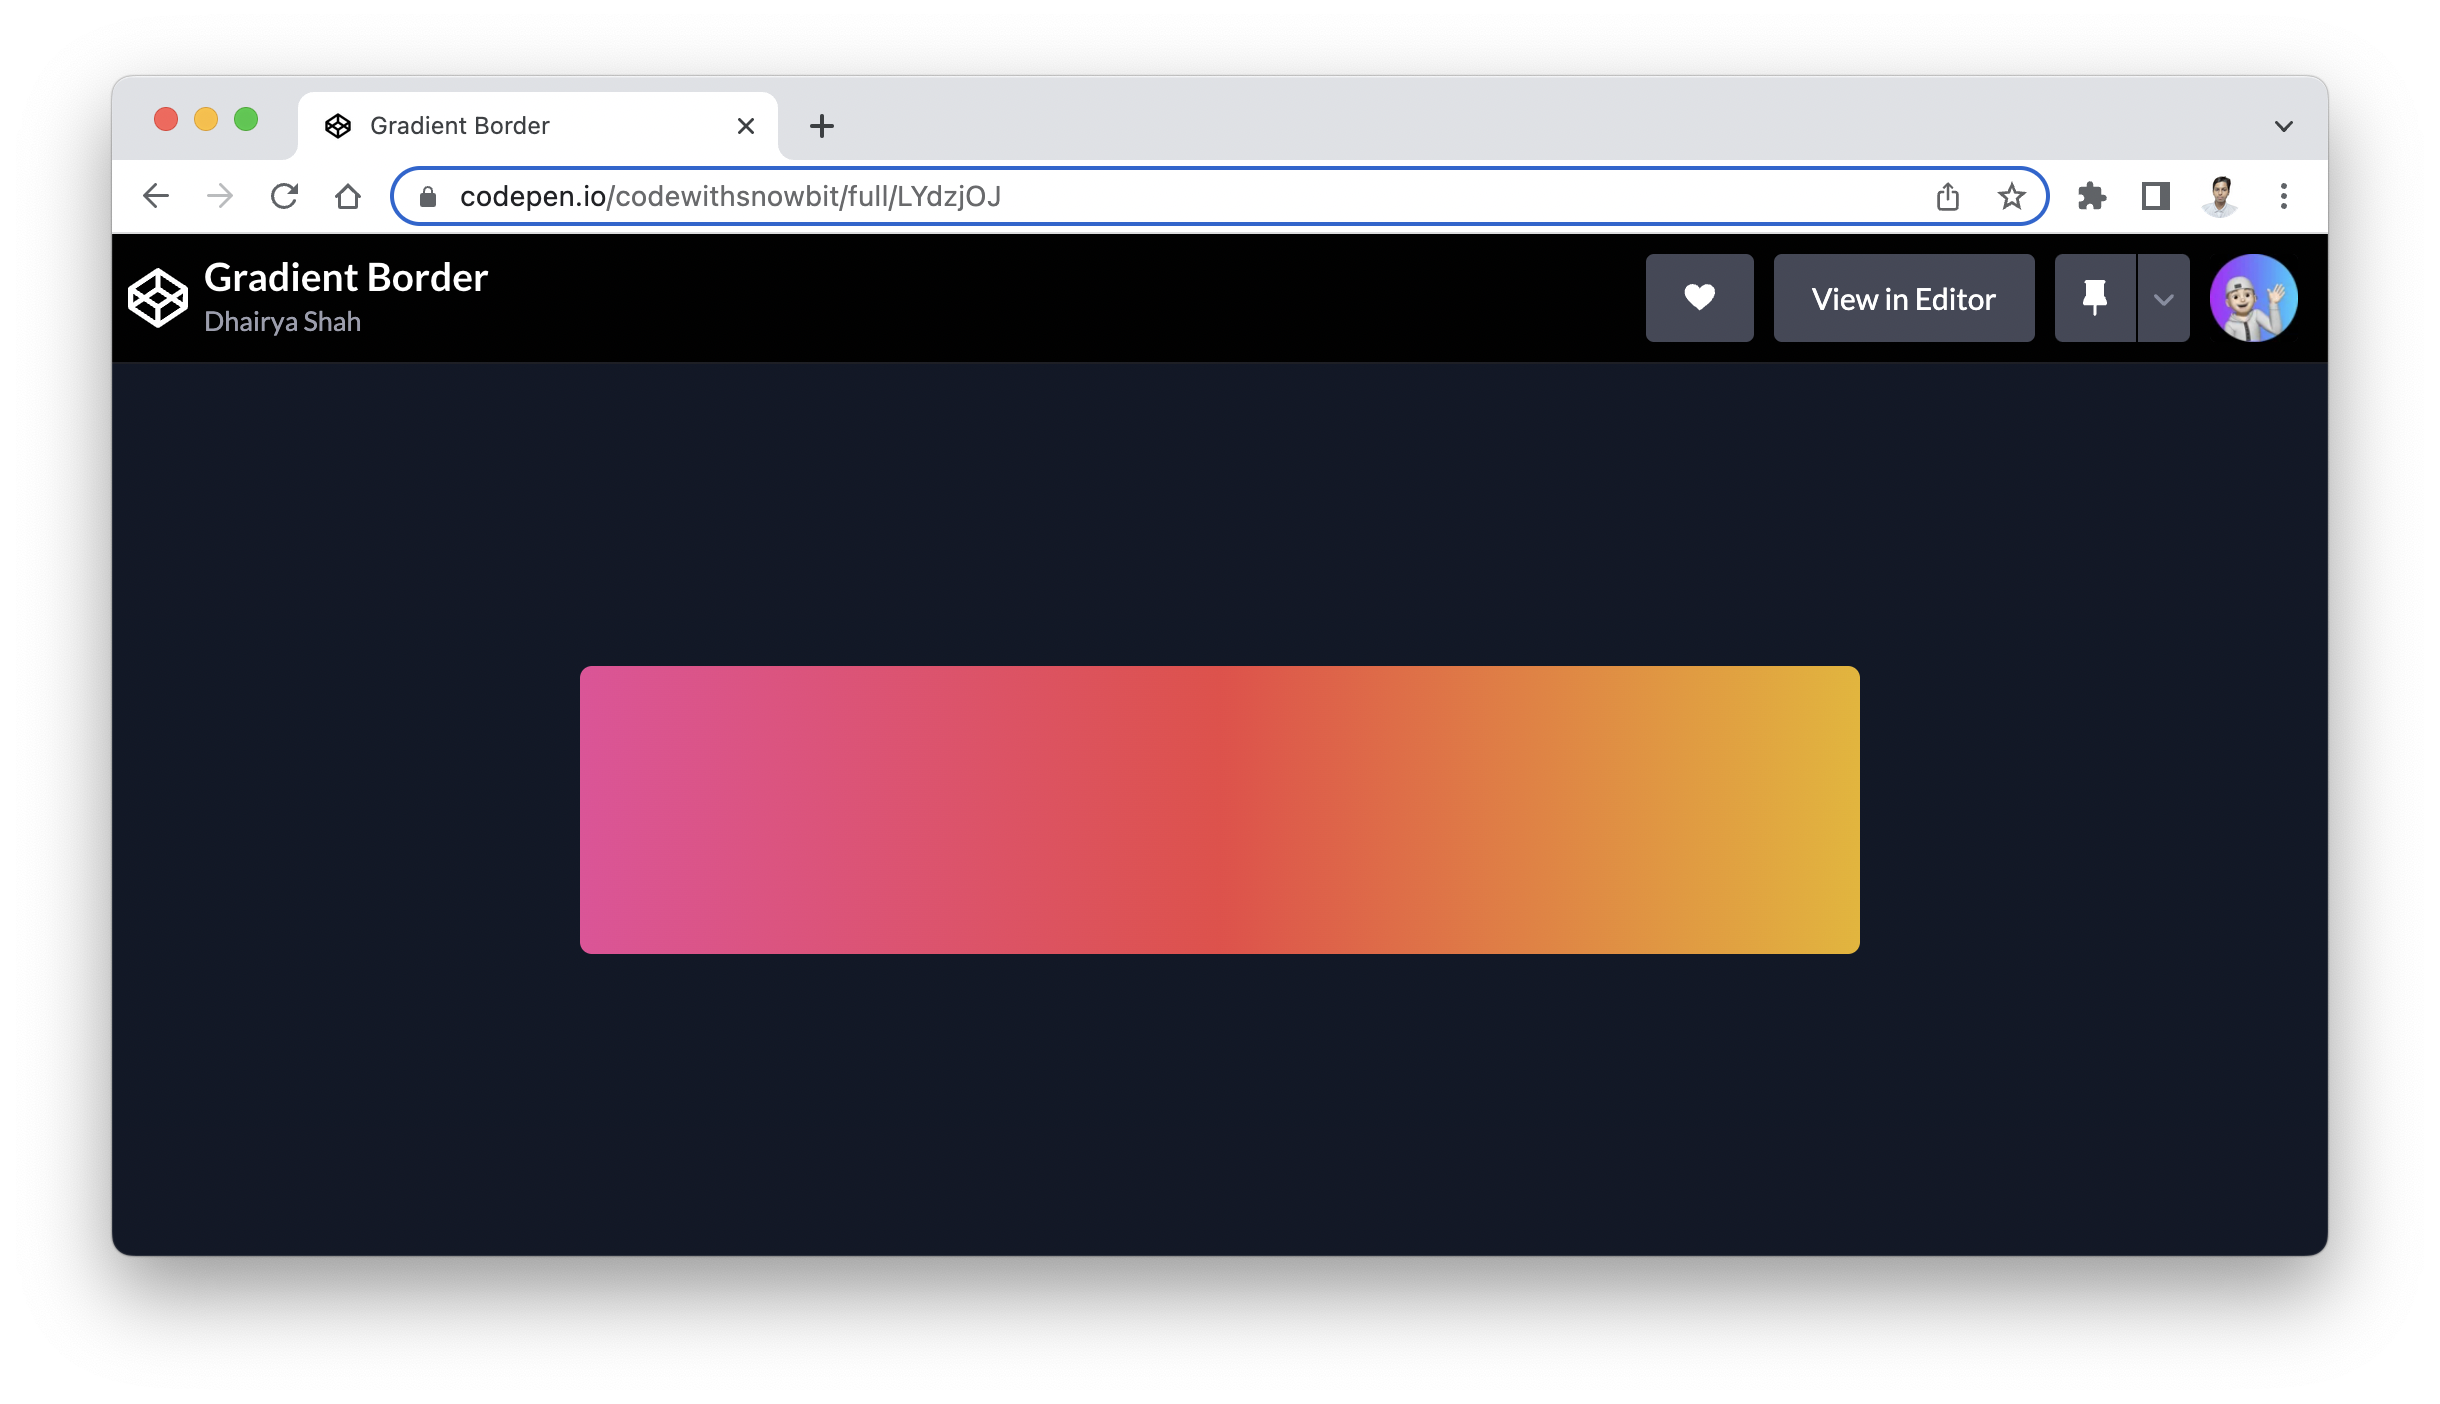
To apply a gradient border, we will create a container with the gradient background color,
<div class="mx-auto flex min-h-screen max-w-screen-sm items-center justify-center">
  <div class="h-36 w-full rounded-md bg-gradient-to-r from-pink-500 via-red-500 to-yellow-500 p-1">
  </div>
</div>
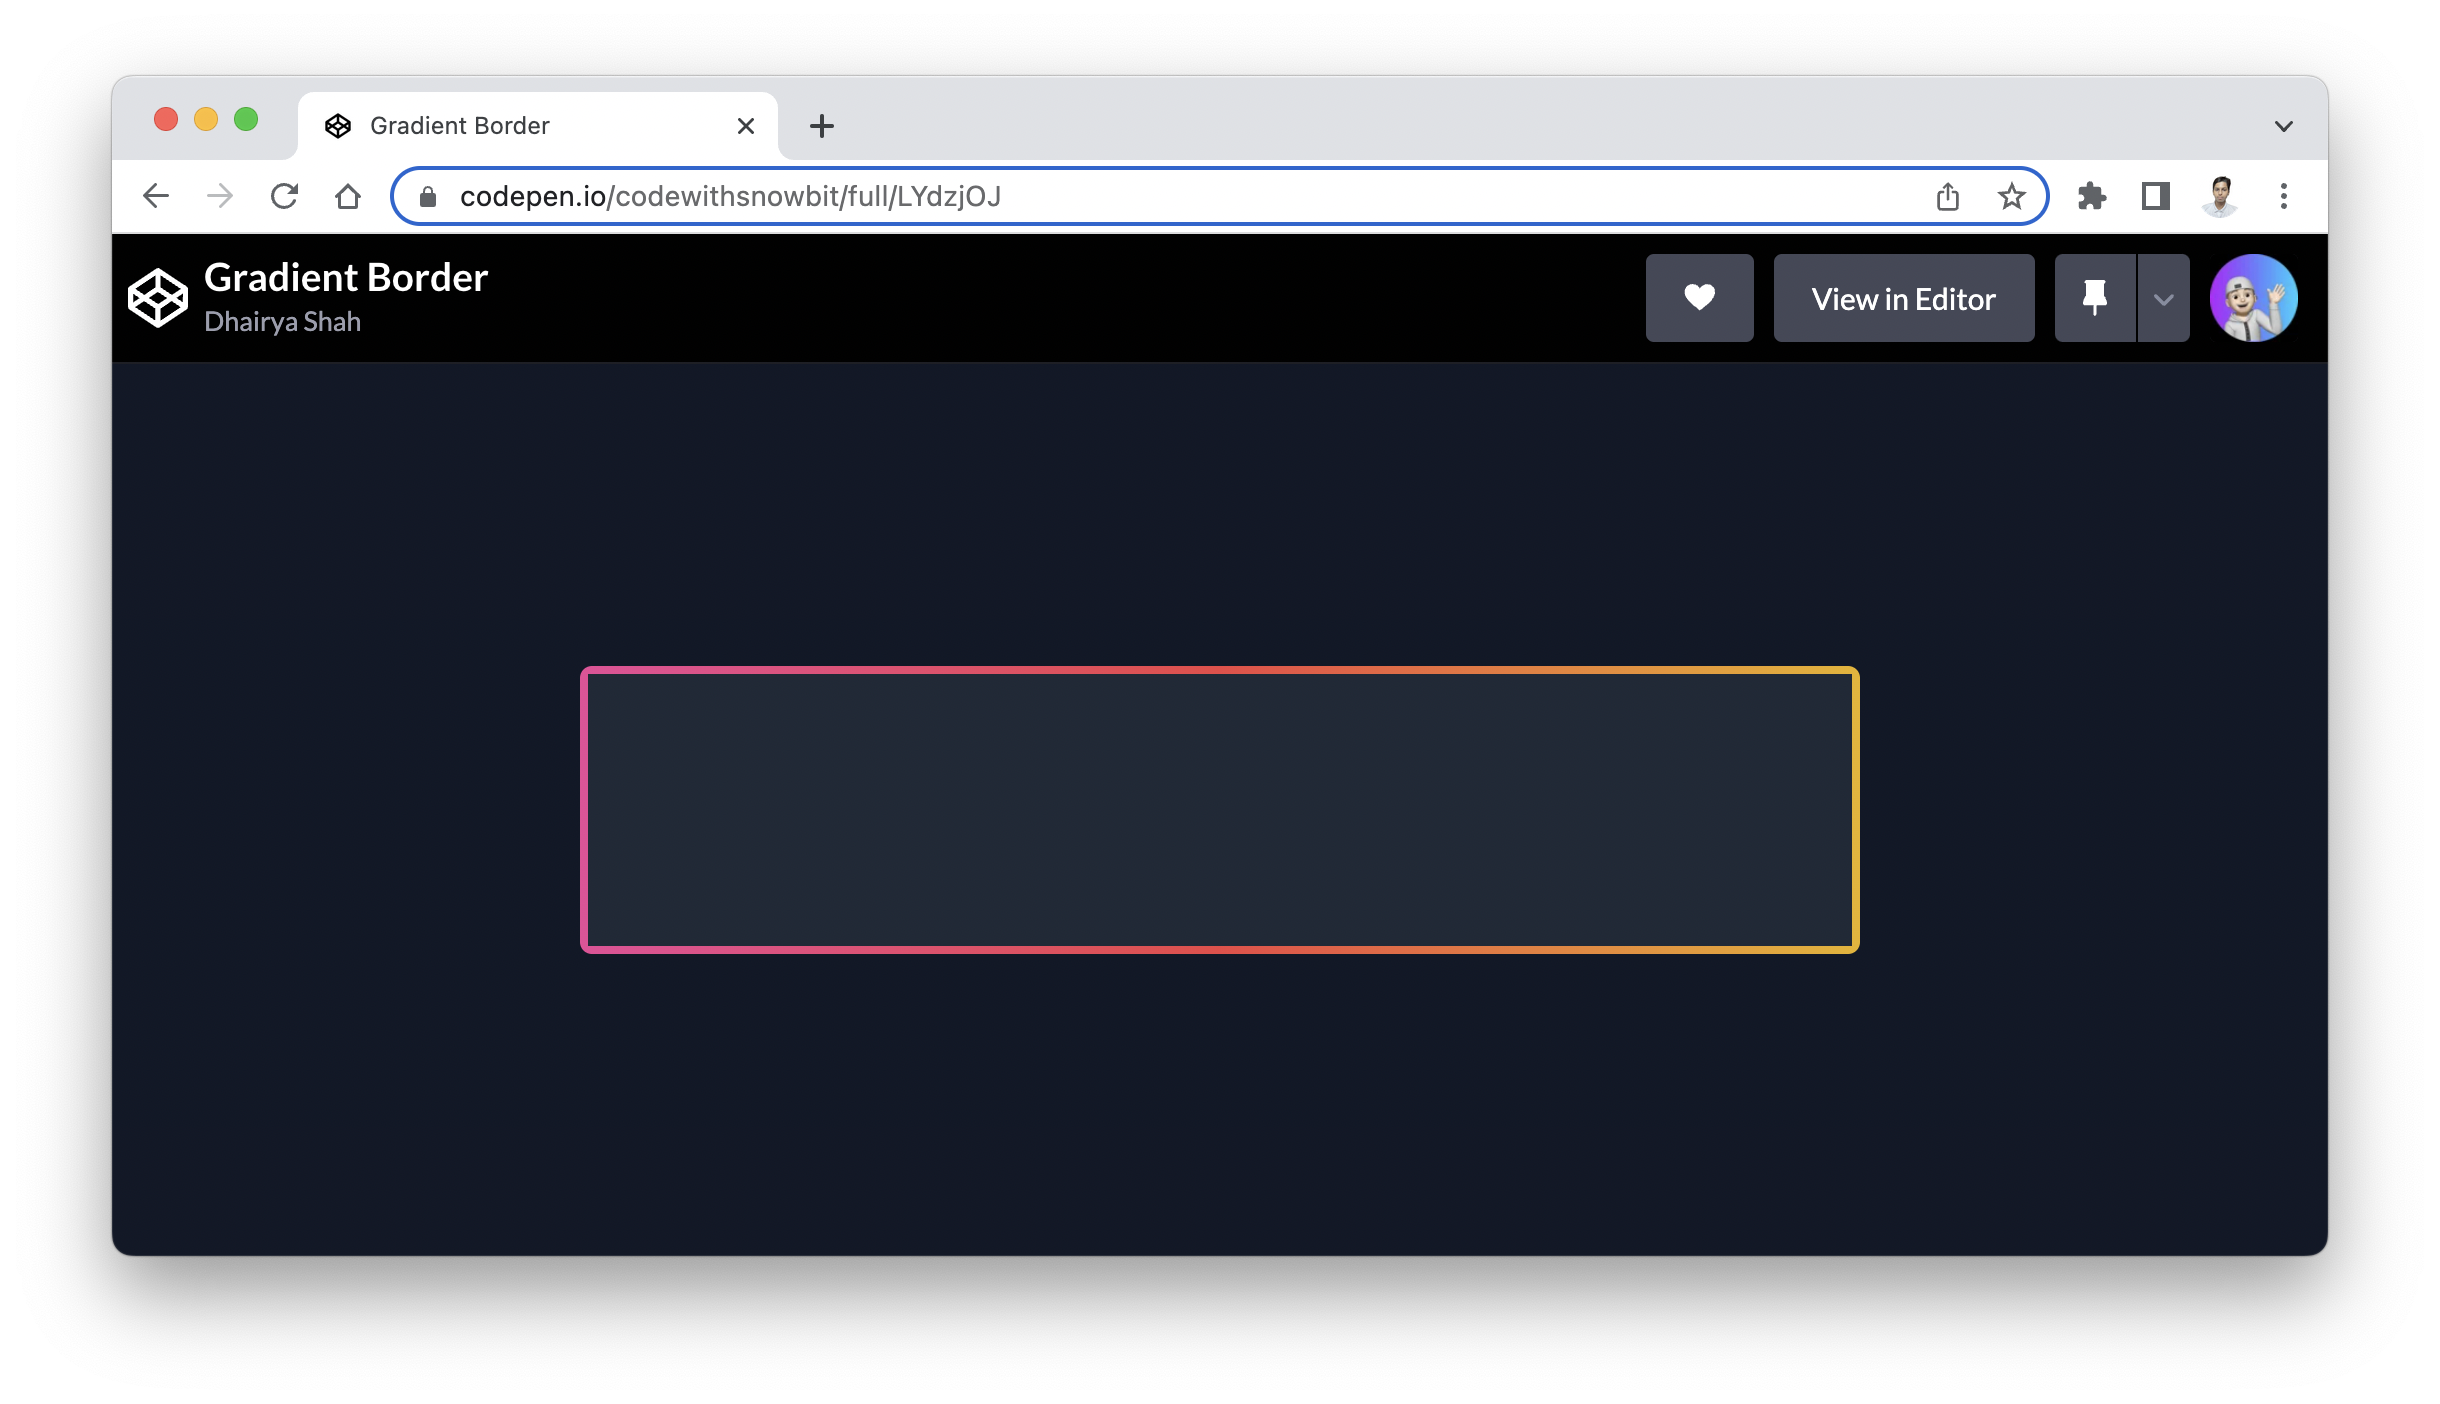
Now we will create a box inside the container with suitable background,
<div class=" h-full w-full bg-gray-800">

</div>
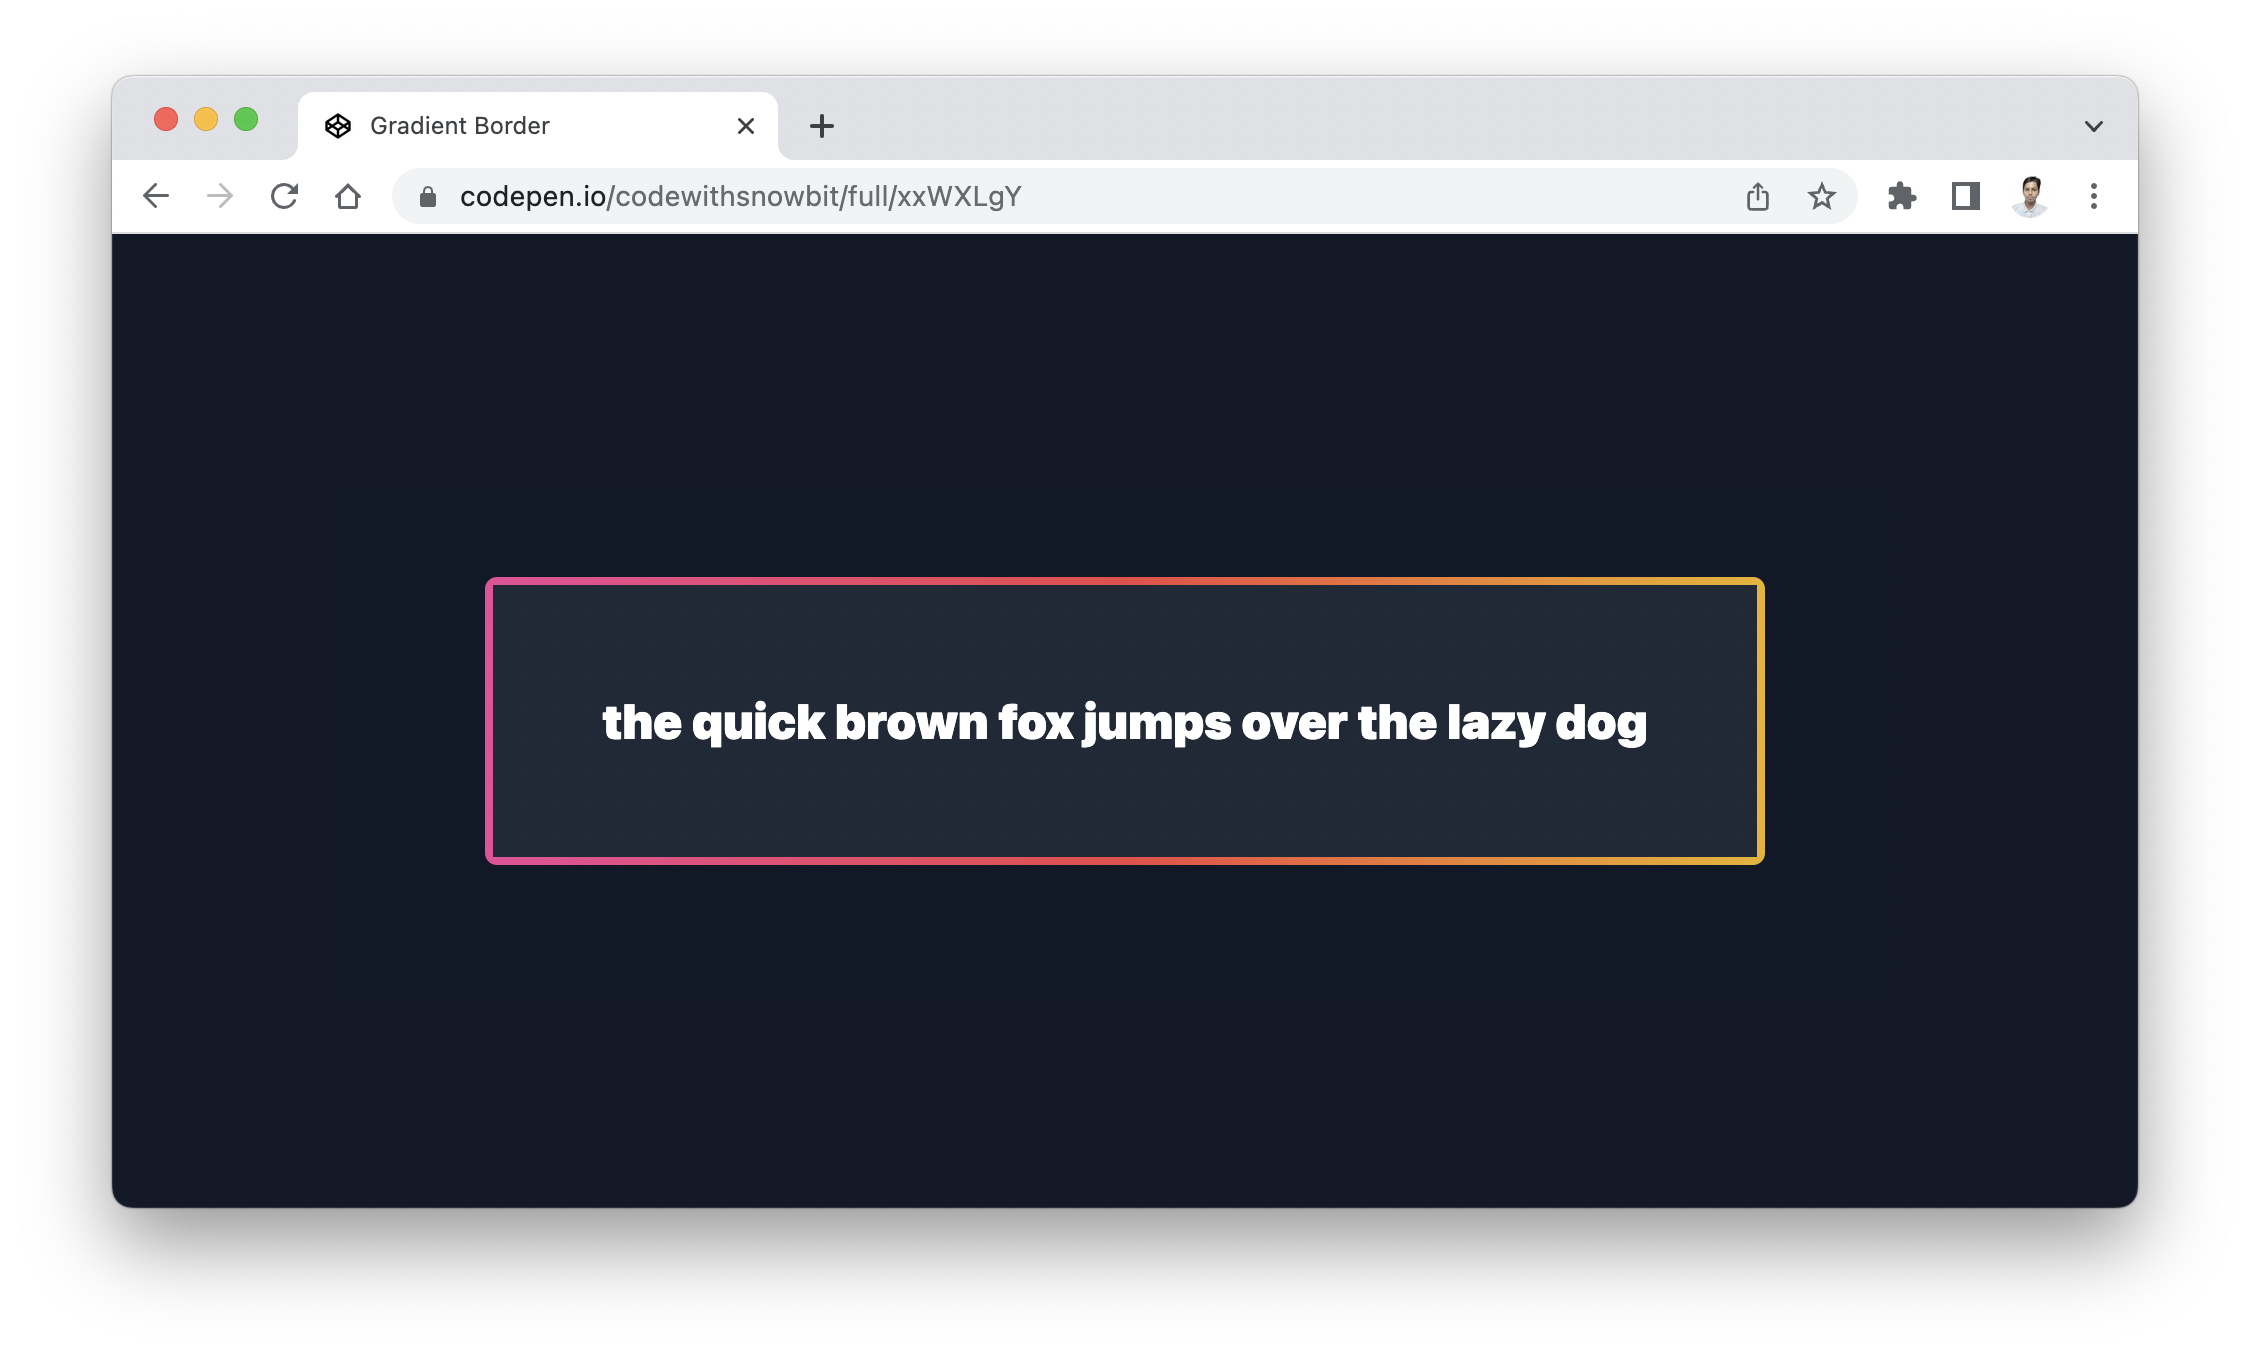
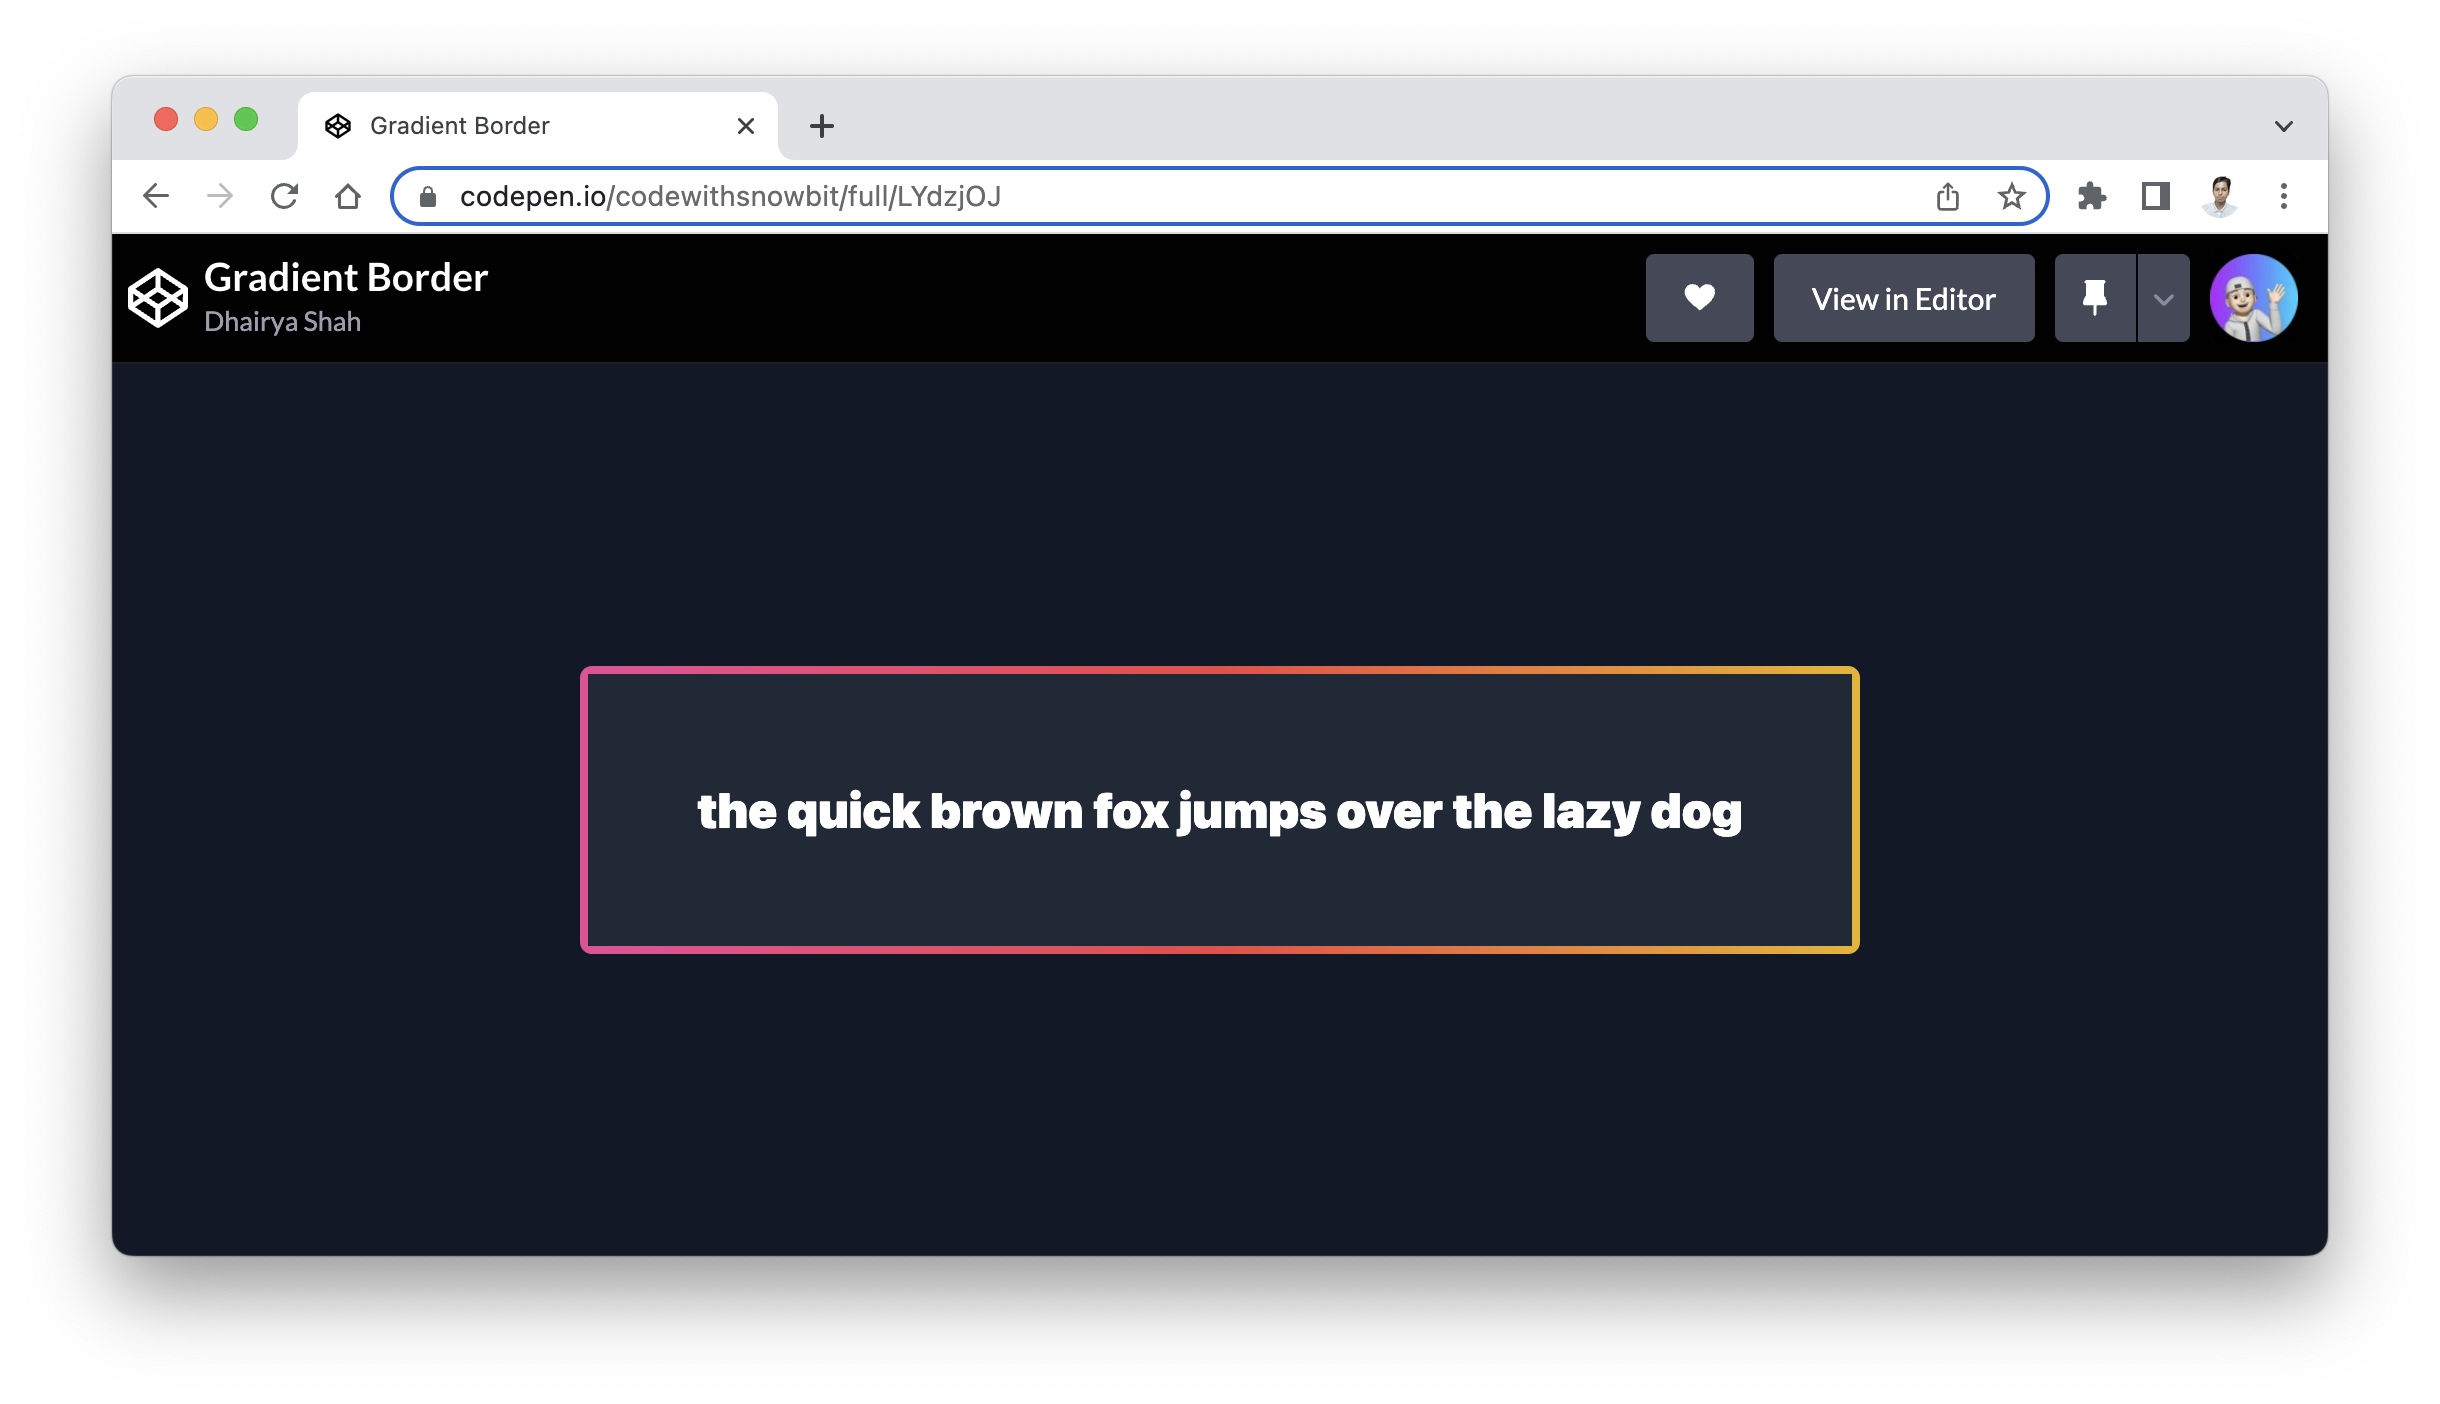
Tada 🎉 we have successfully added a gradient border. To make it look a little better I will add some text to it.

Here’s the final source code,
<div class="mx-auto flex min-h-screen max-w-screen-sm items-center justify-center">
  <div class="h-36 w-full rounded-md bg-gradient-to-r from-pink-500 via-red-500 to-yellow-500 p-1">
    <div class="flex h-full w-full items-center justify-center bg-gray-800 back">
      <h1 class="text-2xl font-black text-white">the quick brown fox jumps over the lazy dog</h1>
    </div>
  </div>
</div>
Try it live!
See the Pen by Dhairya Shah (@dhairyathedev) on CodePen.
Conclusion
In this article, you have learned:
- Adding gradient border with Tailwind CSS
I hope this article was worth reading. Please do consider a like and share it with your colleagues and friends.
Let’s connect
- Twitter - @dhairyashah_dev
- GitHub - @dhairyathedev
Thanks for reading!
