Hello folks, in this article I am going to teach you to add a Top loading bar to your Next.js.
Happy reading folks!
Learning new things every day
Let’s get started
First, create a Next.js application from the terminal
$ yarn create next-app top-loader$ npx create-next-app@latestNow let’s initialize the page with little content,
In the pages/index.js file,
import Link from 'next/link'
import React from 'react'

export default function Home() {
  return (
    <>
      <div className="container" style={{margin: "4px"}}>
        <h1>Home</h1>
        <p>
          Hello world, this is a simple React app.
        </p>
        <Link href="/hello">
          <a className="link" style={{textDecoration: "underline"}}>Visit hello world</a>
        </Link>
      </div>
    </>
  )
}
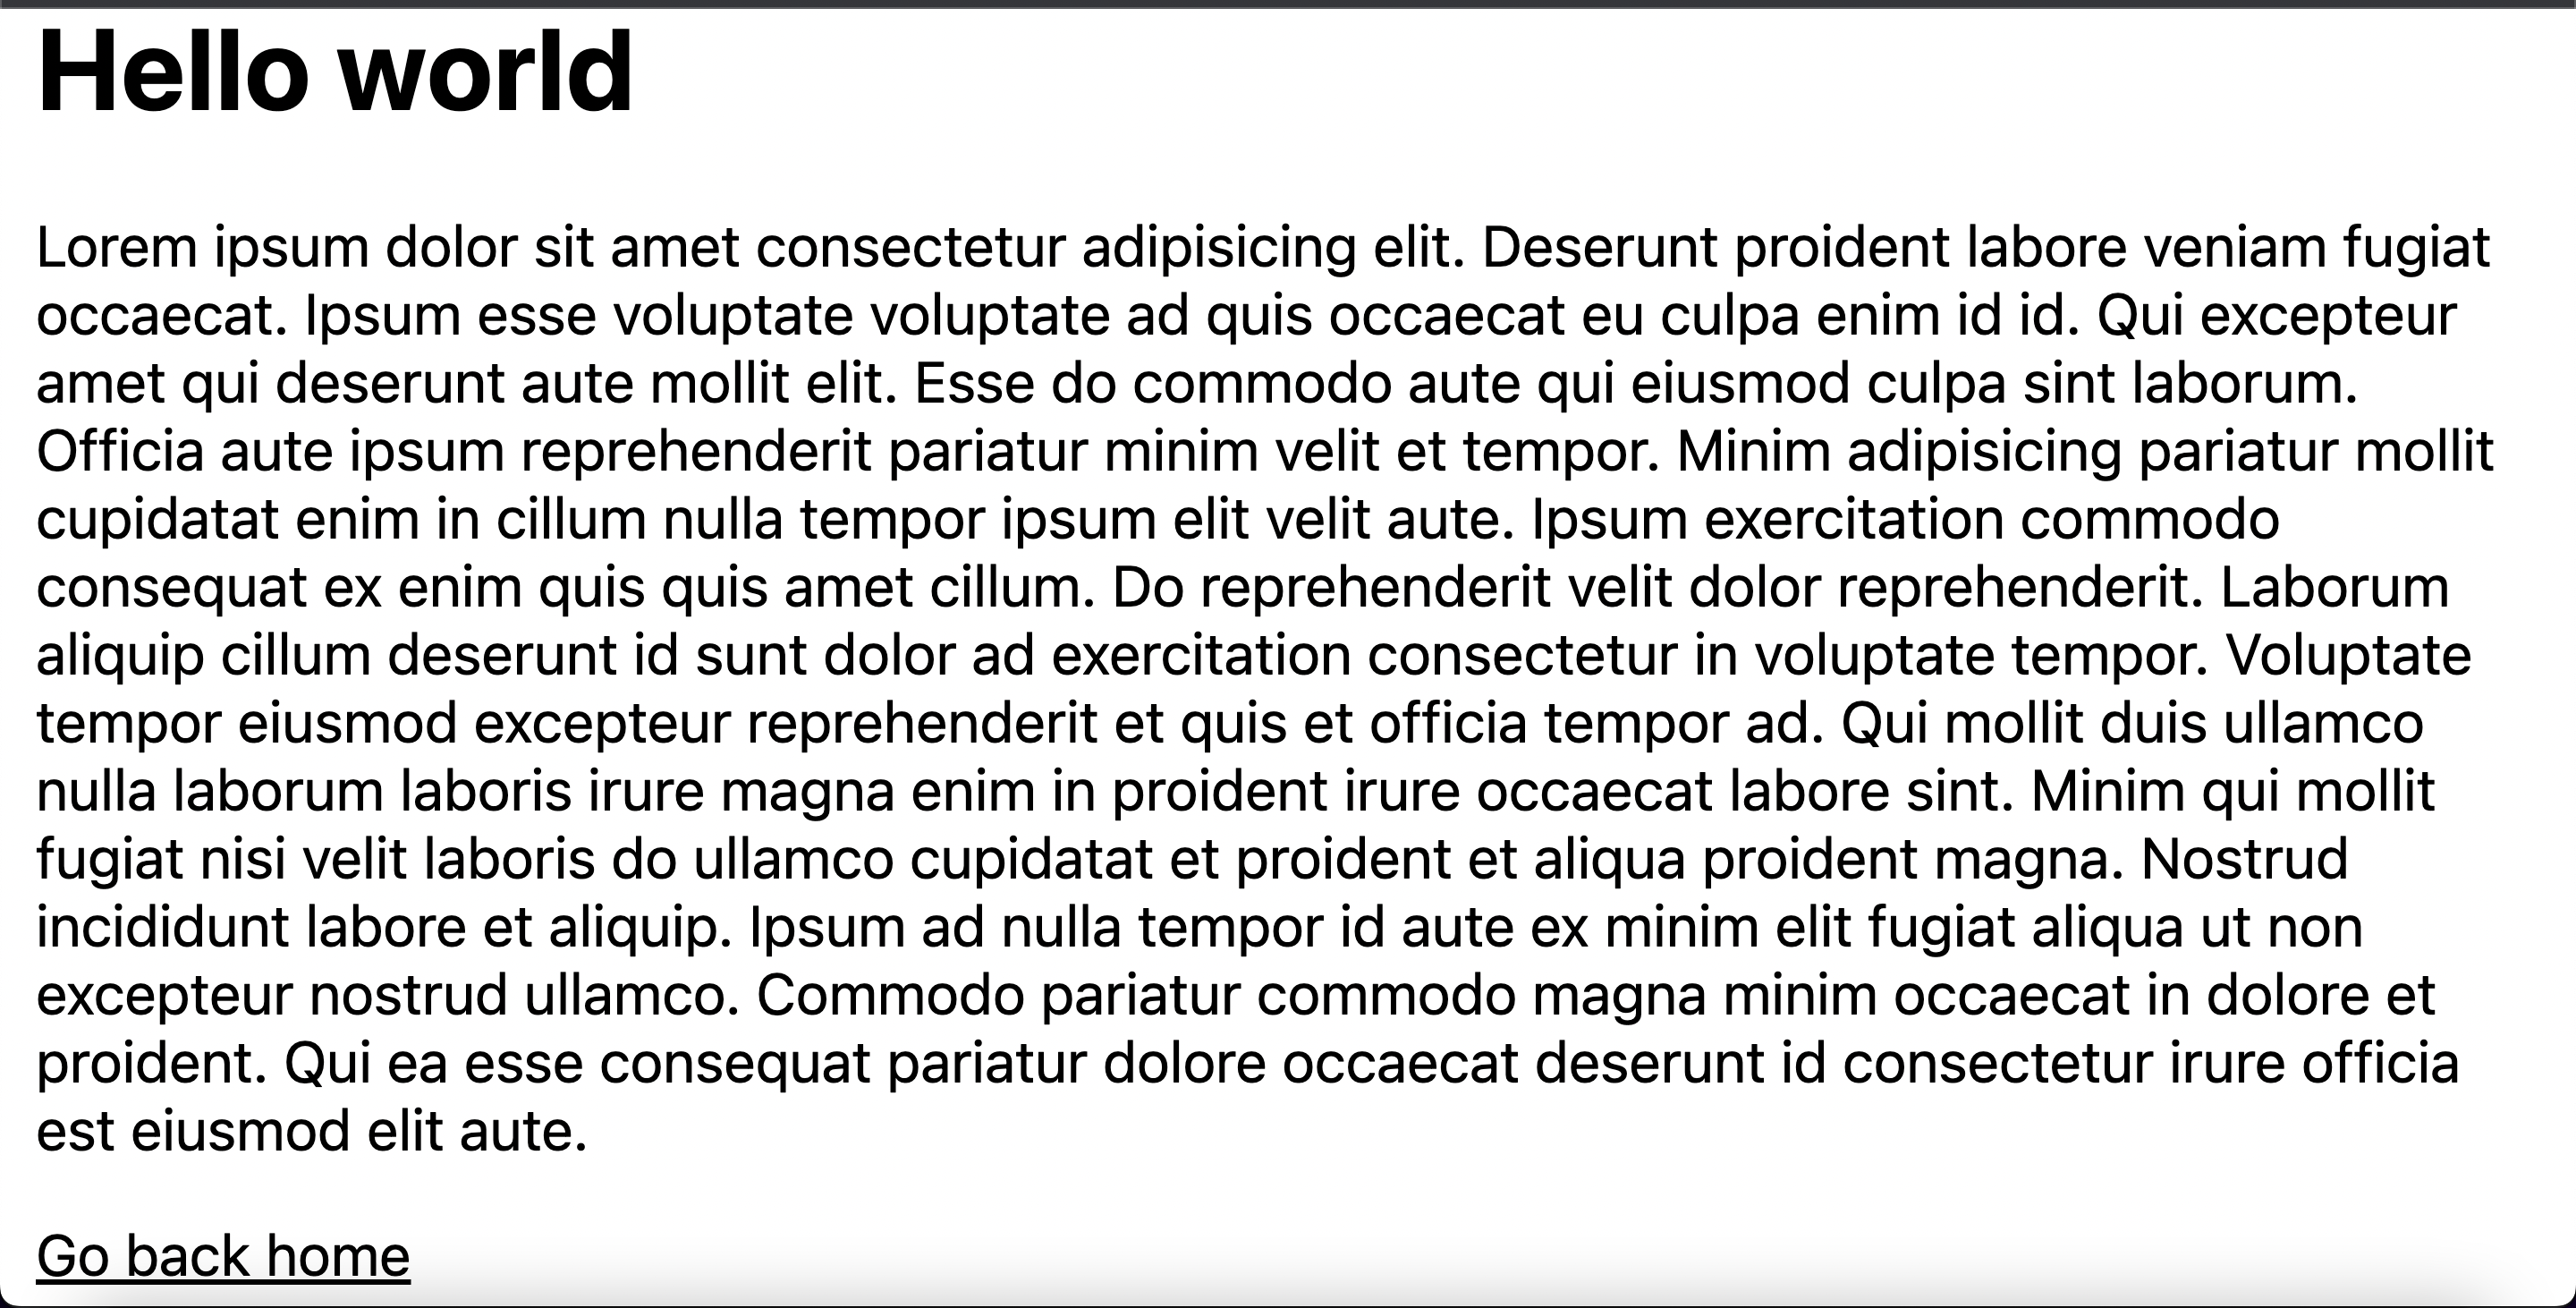
Let’s add a new page to navigate within over application - pages/hello.js.
In pages/hello.js I will add some little content to make it give us a little feel,
import Link from 'next/link'
import React from 'react'

export default function Hello() {
  return (
    <>
        <div className="container">
            <h1>Hello world</h1>
            <p>
            Lorem ipsum dolor sit amet consectetur adipisicing elit. Deserunt proident labore veniam fugiat occaecat. Ipsum esse voluptate voluptate ad quis occaecat eu culpa enim id id. Qui excepteur amet qui deserunt aute mollit elit. Esse do commodo aute qui eiusmod culpa sint laborum. Officia aute ipsum reprehenderit pariatur minim velit et tempor. Minim adipisicing pariatur mollit cupidatat enim in cillum nulla tempor ipsum elit velit aute. Ipsum exercitation commodo consequat ex enim quis quis amet cillum. Do reprehenderit velit dolor reprehenderit.
            Laborum aliquip cillum deserunt id sunt dolor ad exercitation consectetur in voluptate tempor. Voluptate tempor eiusmod excepteur reprehenderit et quis et officia tempor ad. Qui mollit duis ullamco nulla laborum laboris irure magna enim in proident irure occaecat labore sint. Minim qui mollit fugiat nisi velit laboris do ullamco cupidatat et proident et aliqua proident magna.
            Nostrud incididunt labore et aliquip. Ipsum ad nulla tempor id aute ex minim elit fugiat aliqua ut non excepteur nostrud ullamco. Commodo pariatur commodo magna minim occaecat in dolore et proident. Qui ea esse consequat pariatur dolore occaecat deserunt id consectetur irure officia est eiusmod elit aute.
            </p>
            <Link href="/">
          <a className="link" style={{textDecoration: "underline"}}>Go back home</a>
        </Link>
        </div>
    </>
  )
}
Adding Top Progress bar
Install the following npm package,
$ yarn add nextjs-progressbar$ npm i nextjs-progressbarAfter installing the above package, go to pages/_app.js file and write the following code,
import '../styles/globals.css'
import NextNProgress from 'nextjs-progressbar'
function MyApp({ Component, pageProps }) {
  return (
    <>
      <NextNProgress color="linear-gradient(to right, rgb(134, 239, 172), rgb(59, 130, 246), rgb(147, 51, 234))" />
      <Component {...pageProps} />
    </>
  )
}

export default MyApp
Tada 🎉 You have successfully added the top progress bar in Next.js.
I have created a video tutorial on it, do check out if you face any trouble.
Conclusion
In this article, you have learned the following things
- Navigation in Next.js
- Working with loading components
I hope this article was worth reading. Please do consider a like and share it with your colleagues and friends.
Let’s connect
- Twitter - @dhairyashah_dev
- GitHub - @dhairyathedev
Thanks for reading!
