
In this article, I will show you the easy and straightforward way to add Google Analytics to your Astro website without any trouble or issue.
So, let’s go!
If you directly copy the installation code from Google Analytics and paste it into the HEAD tag, it will show you an error:
To fix this error, we are going to use a smart way 😎
Follow the following steps and you are good to go:
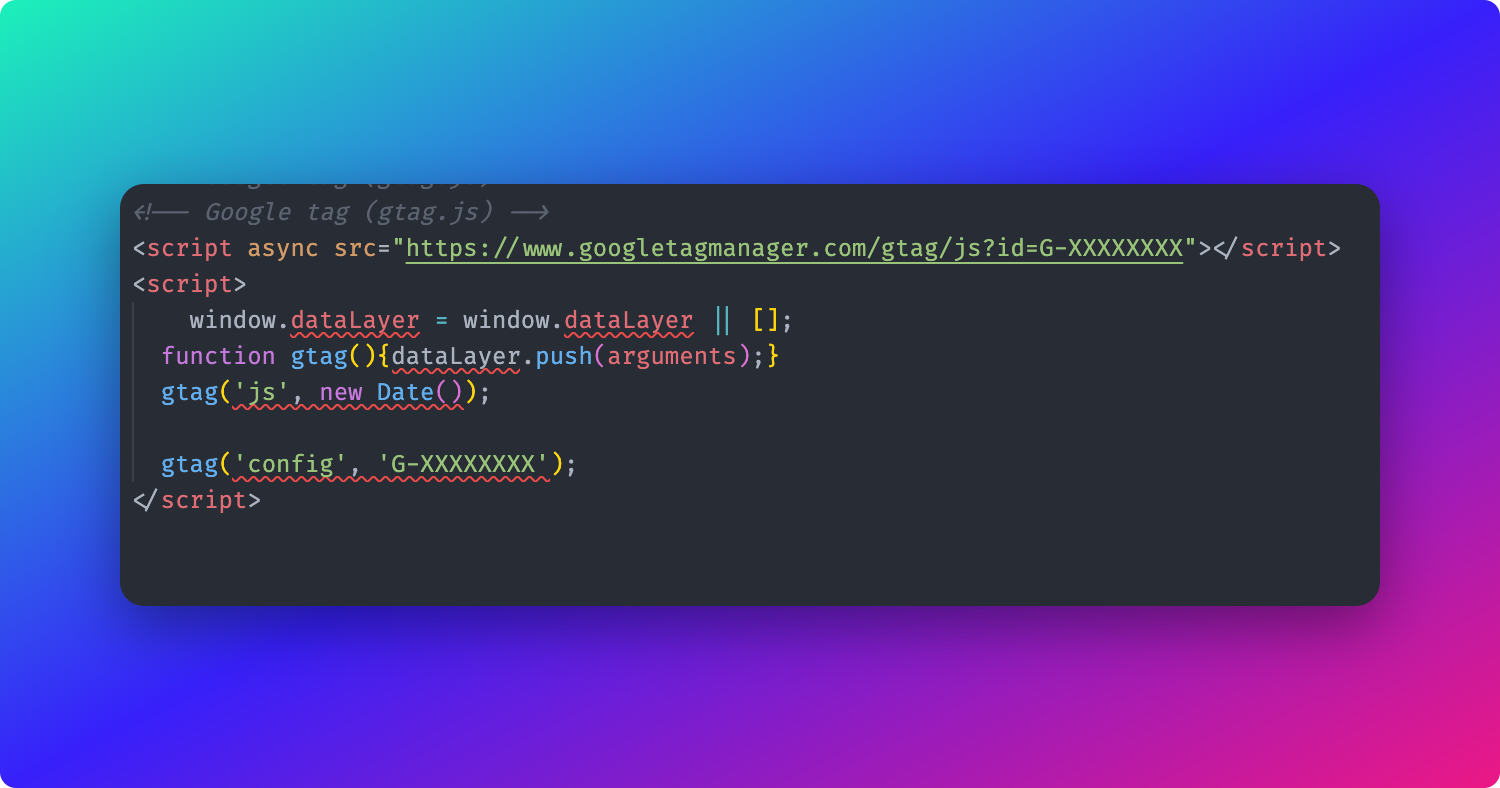
- Cut the following code from the
HEADtag:
<script>
	window.dataLayer = window.dataLayer || [];
  function gtag(){dataLayer.push(arguments);}
  gtag('js', new Date());

  gtag('config', 'G-XXXXXXXX');
</script>
Make sure you keep the following script tag:
<script async src="https://www.googletagmanager.com/gtag/js?id=G-XXXXXXXX"></script>- Create a new folder
libinside thesrcfolder -src/lib
Inside the lib folder, create a file - analytics.js. Inside analytics.js add the code that you have cut from the head tag inside the file:
window.dataLayer = window.dataLayer || [];
function gtag(){dataLayer.push(arguments);}
gtag('js', new Date());

gtag('config', 'G-XXXXXXXX');- Now import the analytics.js in the head tag:
<script async src="https://www.googletagmanager.com/gtag/js?id=G-XXXXXXXX"></script>
<script src="../lib/analytics.js"/>
Now, all set! Google Analytics has been added to your Astro application.
Thanks for reading
Follow me on Twitter
Thanks for reading!